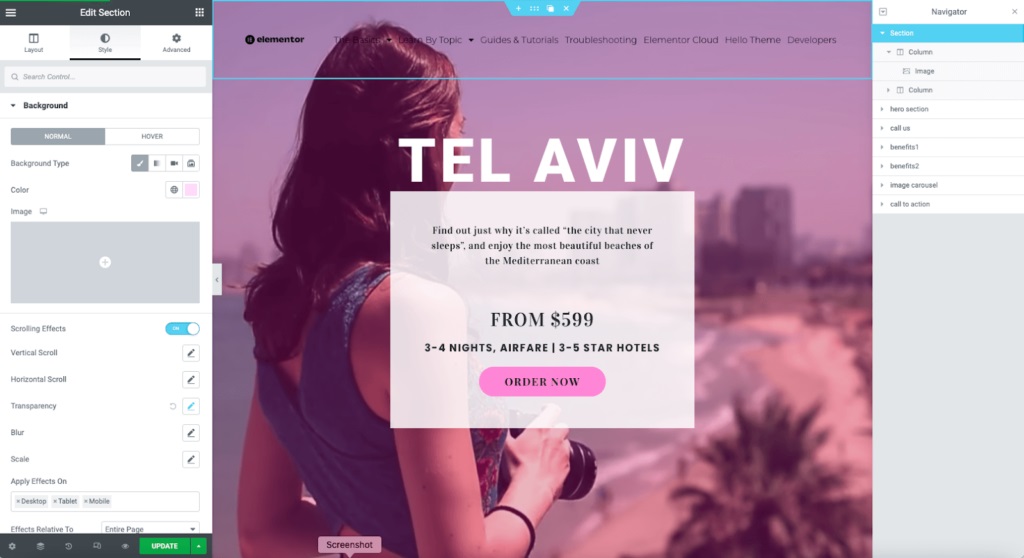
Elementor is a popular WordPress page builder that lets you create beautiful and responsive websites. One of the features that Elementor offers is the ability to create sticky headers that stay fixed at the top of the screen as you scroll down. But what if you want to change the color of your sticky header when it scrolls over a different background? In this article, we will show you how to do that with some simple CSS code.
First, you need to create your header template in Elementor and make it sticky. To do that, go to Templates > Theme Builder > Header and click on Add New. Give your template a name and click on Create Template. Then, choose a header layout from the library or design your own from scratch. Once you are done with the design, click on Publish and assign it to your entire site or specific pages.
Next, you need to make your header sticky. To do that, go to the Edit Section panel of your header and click on Advanced > Motion Effects. Then, enable the Sticky option and choose Top as the position. You can also adjust the offset, effects offset, and z-index of your sticky header. Don’t forget to update your template to save the changes.
Now, you need to add some custom CSS code to change the color of your sticky header on scroll. To do that, go to the Edit Section panel of your header again and click on Advanced > Custom CSS. Then, paste the following code in the box:
selector.elementor-sticky–active {
background-color: #000000 !important;
}
This code will change the background color of your sticky header to black when it becomes active (i.e., when it sticks to the top of the screen). You can change the color value to any hex code you want. For example, if you want to make it red, you can use #FF0000 instead of #000000.
That’s it! You have successfully changed the sticky header color on scroll in Elementor. You can preview your site and see how it looks. You can also experiment with different colors and effects to make your header more attractive and dynamic.


Recent Comments