

Contents
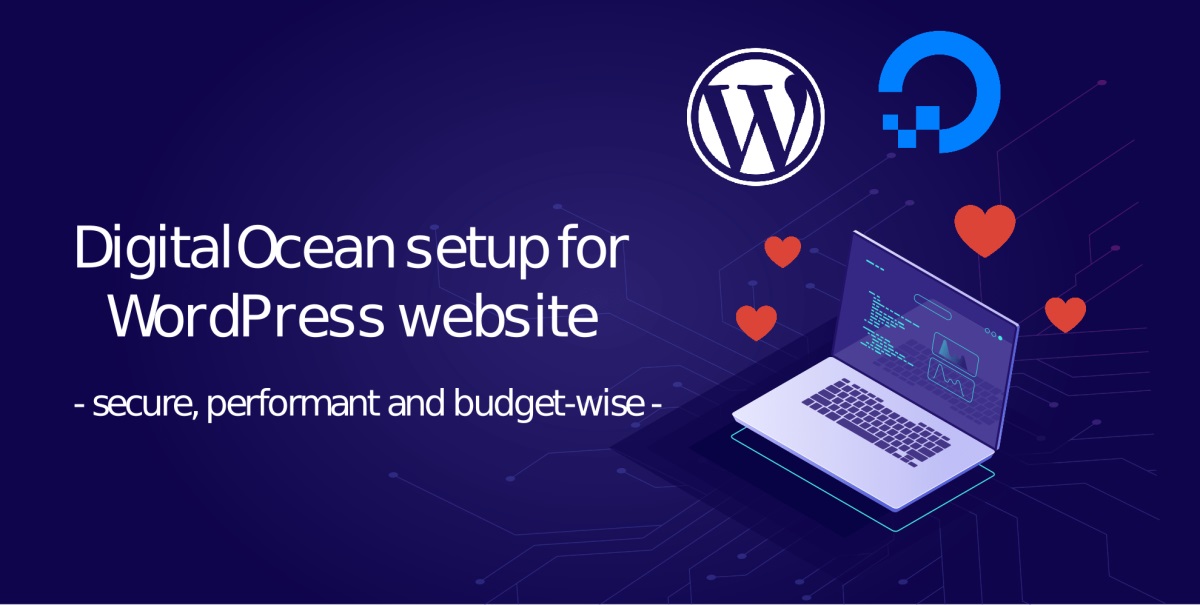
DigitalOcean is a platform that provides cloud-based virtual private servers (VPS) for hosting websites and applications. It is easy to use, scalable, and affordable, making it a great option for developers and small businesses. In this tutorial, we will show you how to set up WordPress on DigitalOcean, from creating a server to installing WordPress and securing your site.
Prerequisites
Before you start this tutorial, you will need the following:
- A DigitalOcean account. You can sign up for one here.
- A domain name that points to your server’s IP address. You can buy one from a domain registrar or use a free service like Freenom.
- A SSH client to access your server. You can use PuTTY for Windows or Terminal for Mac and Linux.
Step 1: Creating a Droplet
A droplet is a term for a virtual server on DigitalOcean. To create one, follow these steps:
- Log in to your DigitalOcean account and click on the Create button at the top right corner.
- Select Droplets from the menu and choose Ubuntu 20.04 (LTS) x64 as the image.
- Choose a plan that suits your needs and budget. The cheapest one costs $5 per month and offers 1 GB of RAM, 1 CPU, 25 GB of SSD storage, and 1 TB of transfer.
- Choose a datacenter region that is closest to your target audience.
- Optionally, you can add additional features such as backups, monitoring, IPv6, private networking, or user data.
- Add your SSH key to the droplet for secure access. You can follow this guide to generate and add an SSH key.
- Give your droplet a name and click on Create Droplet.
It will take a few minutes for your droplet to be created and ready. Once it is done, you will see its IP address on the dashboard.
Step 2: Installing LAMP Stack
LAMP stands for Linux, Apache, MySQL, and PHP. It is a combination of software that powers WordPress and many other web applications. To install LAMP stack on your droplet, follow these steps:
- Connect to your droplet via SSH using your SSH client. You can use the following command:
ssh root@your_droplet_ip- Enter your password or passphrase if prompted.
- Update your system packages by running:
sudo apt update && sudo apt upgrade- Install Apache by running:
sudo apt install apache2- Check if Apache is running by visiting http://your_droplet_ip in your browser. You should see the default Apache page.
- Install MySQL by running:
sudo apt install mysql-server- Secure MySQL by running:
sudo mysql_secure_installation- Follow the prompts to set a root password, remove anonymous users, disable remote root login, remove test database, and reload privilege tables.
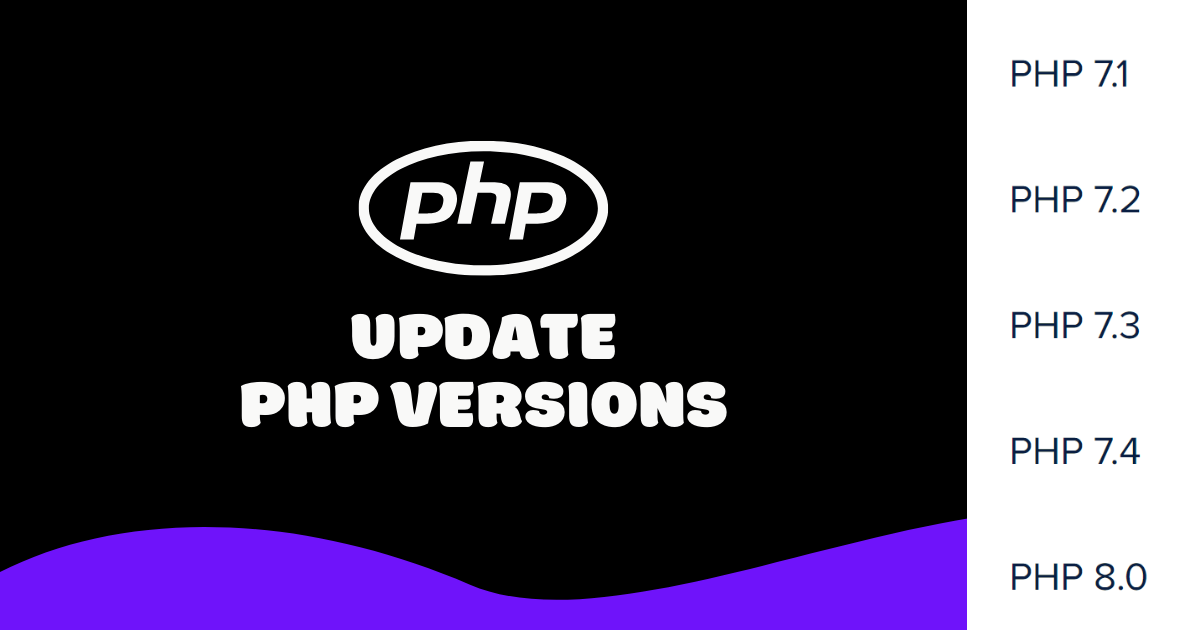
- Install PHP by running:
sudo apt install php php-mysql libapache2-mod-php php-cli- Restart Apache by running:
sudo systemctl restart apache2You have successfully installed LAMP stack on your droplet.
Step 3: Creating a Database and User for WordPress
WordPress uses MySQL to store and manage its data. To create a database and user for WordPress, follow these steps:
- Log in to MySQL as root by running:
sudo mysql -u root -p- Enter your root password when prompted.
- Create a database for WordPress by running:
CREATE DATABASE wordpress;- Create a user for WordPress by running:
CREATE USER 'wordpressuser'@'localhost' IDENTIFIED BY 'password';Replace password with a strong password of your choice.
- Grant all privileges to the user on the database by running:
GRANT ALL ON wordpress.* TO 'wordpressuser'@'localhost';- Flush the privileges by running:
FLUSH PRIVILEGES;- Exit MySQL by running:
EXIT;You have successfully created a database and user for WordPress.
Step 4: Downloading and Installing WordPress
WordPress is an open-source software that allows you to create websites and blogs with ease. To download and install WordPress on your droplet on your droplet, follow these steps:
- Change to the web root directory by running:
cd /var/www/html- Remove the default index.html file by running:
sudo rm index.html- Download the latest WordPress package by running:
sudo wget https://wordpress.org/latest.tar.gz- Extract the package by running:
sudo tar xzf latest.tar.gz- Move the WordPress files to the web root directory by running:
sudo mv wordpress/* .- Remove the WordPress directory and the package file by running:
sudo rm -rf wordpress latest.tar.gz- Change the ownership and permissions of the WordPress files by running:
sudo chown -R www-data:www-data .
sudo find . -type d -exec chmod 755 {} \;
sudo find . -type f -exec chmod 644 {} \;- Create a WordPress configuration file by copying the sample file by running:
sudo cp wp-config-sample.php wp-config.php- Edit the WordPress configuration file by running:
sudo nano wp-config.php- Replace the following lines with your database name, user, and password:
define( 'DB_NAME', 'database_name_here' );
define( 'DB_USER', 'username_here' );
define( 'DB_PASSWORD', 'password_here' );- Save and close the file by pressing CTRL+X, Y, and ENTER.
- Complete the WordPress installation by visiting http://your_domain_name in your browser. You should see the WordPress installation wizard.
- Follow the instructions to choose a language, enter a site title, username, password, and email address. Then click on Install WordPress.
- Log in to your WordPress dashboard by visiting http://your_domain_name/wp-admin in your browser. You should see the WordPress admin area.
You have successfully downloaded and installed WordPress on your droplet.
Step 5: Securing Your WordPress Site
Your WordPress site is now live on the internet, but it is not secure yet. To protect your site from hackers and malicious attacks, you should follow these steps:
- Enable HTTPS on your site by obtaining a free SSL certificate from Let’s Encrypt. You can follow this guide to set up Let’s Encrypt with Apache on Ubuntu 20.04.
- Update your WordPress core, themes, and plugins regularly to fix any security vulnerabilities. You can do this from your WordPress dashboard or via SSH.
- Install a security plugin such as Wordfence or Sucuri to scan your site for malware, block brute force attacks, and enforce firewall rules.
- Use strong passwords for your WordPress user accounts and change them periodically. You can also use a password manager such as LastPass or 1Password to generate and store secure passwords.
- Limit login attempts and use two-factor authentication to prevent unauthorized access to your WordPress dashboard. You can use a plugin such as Limit Login Attempts Reloaded or Jetpack to implement these features.
- Backup your WordPress site regularly to restore it in case of data loss or corruption. You can use a plugin such as UpdraftPlus or BackWPup to schedule automatic backups and store them on a remote location such as Dropbox or Google Drive.
By following these steps, you can secure your WordPress site and enjoy its benefits.
Conclusion
In this tutorial, we have shown you how to set up WordPress on DigitalOcean using LAMP stack. We have also covered some basic steps to secure your WordPress site and keep it updated. You can now customize your WordPress site with themes, plugins, and content to suit your needs and preferences.
We hope you found this tutorial helpful and informative. If you have any questions or feedback, please let us know in the comments below.


Recent Comments